Welcome to this side of the internet where I take those recipes we all have pinned on Pinterest and try them out, a Pinterest Test Kitchen if you will! This recipe was inspired by multiple recipes I had pinned and the fact that it’s finally feeling like spring. I think most people think “winter and cozy” when they hear a “cup of tea” but Earl Grey Tea speaks spring to me! Somewhere along the way I made a connection with birds chirping and Earl Grey Tea. So I went to Pinterest and searched Earl Grey Tea Recipes and saw donuts! Then my gears started to turn about using an Earl Grey Infused milk to make the glaze topping. I tweaked a few things and made it my own. Then, of course, I had to see how pretty I could make them. Here’s a little bit about how I styled the donuts, how I photographed them and the results!
Baked Earl Grey Donuts Food Photography and Styling
Food Styling Baked Earl Grey Donuts
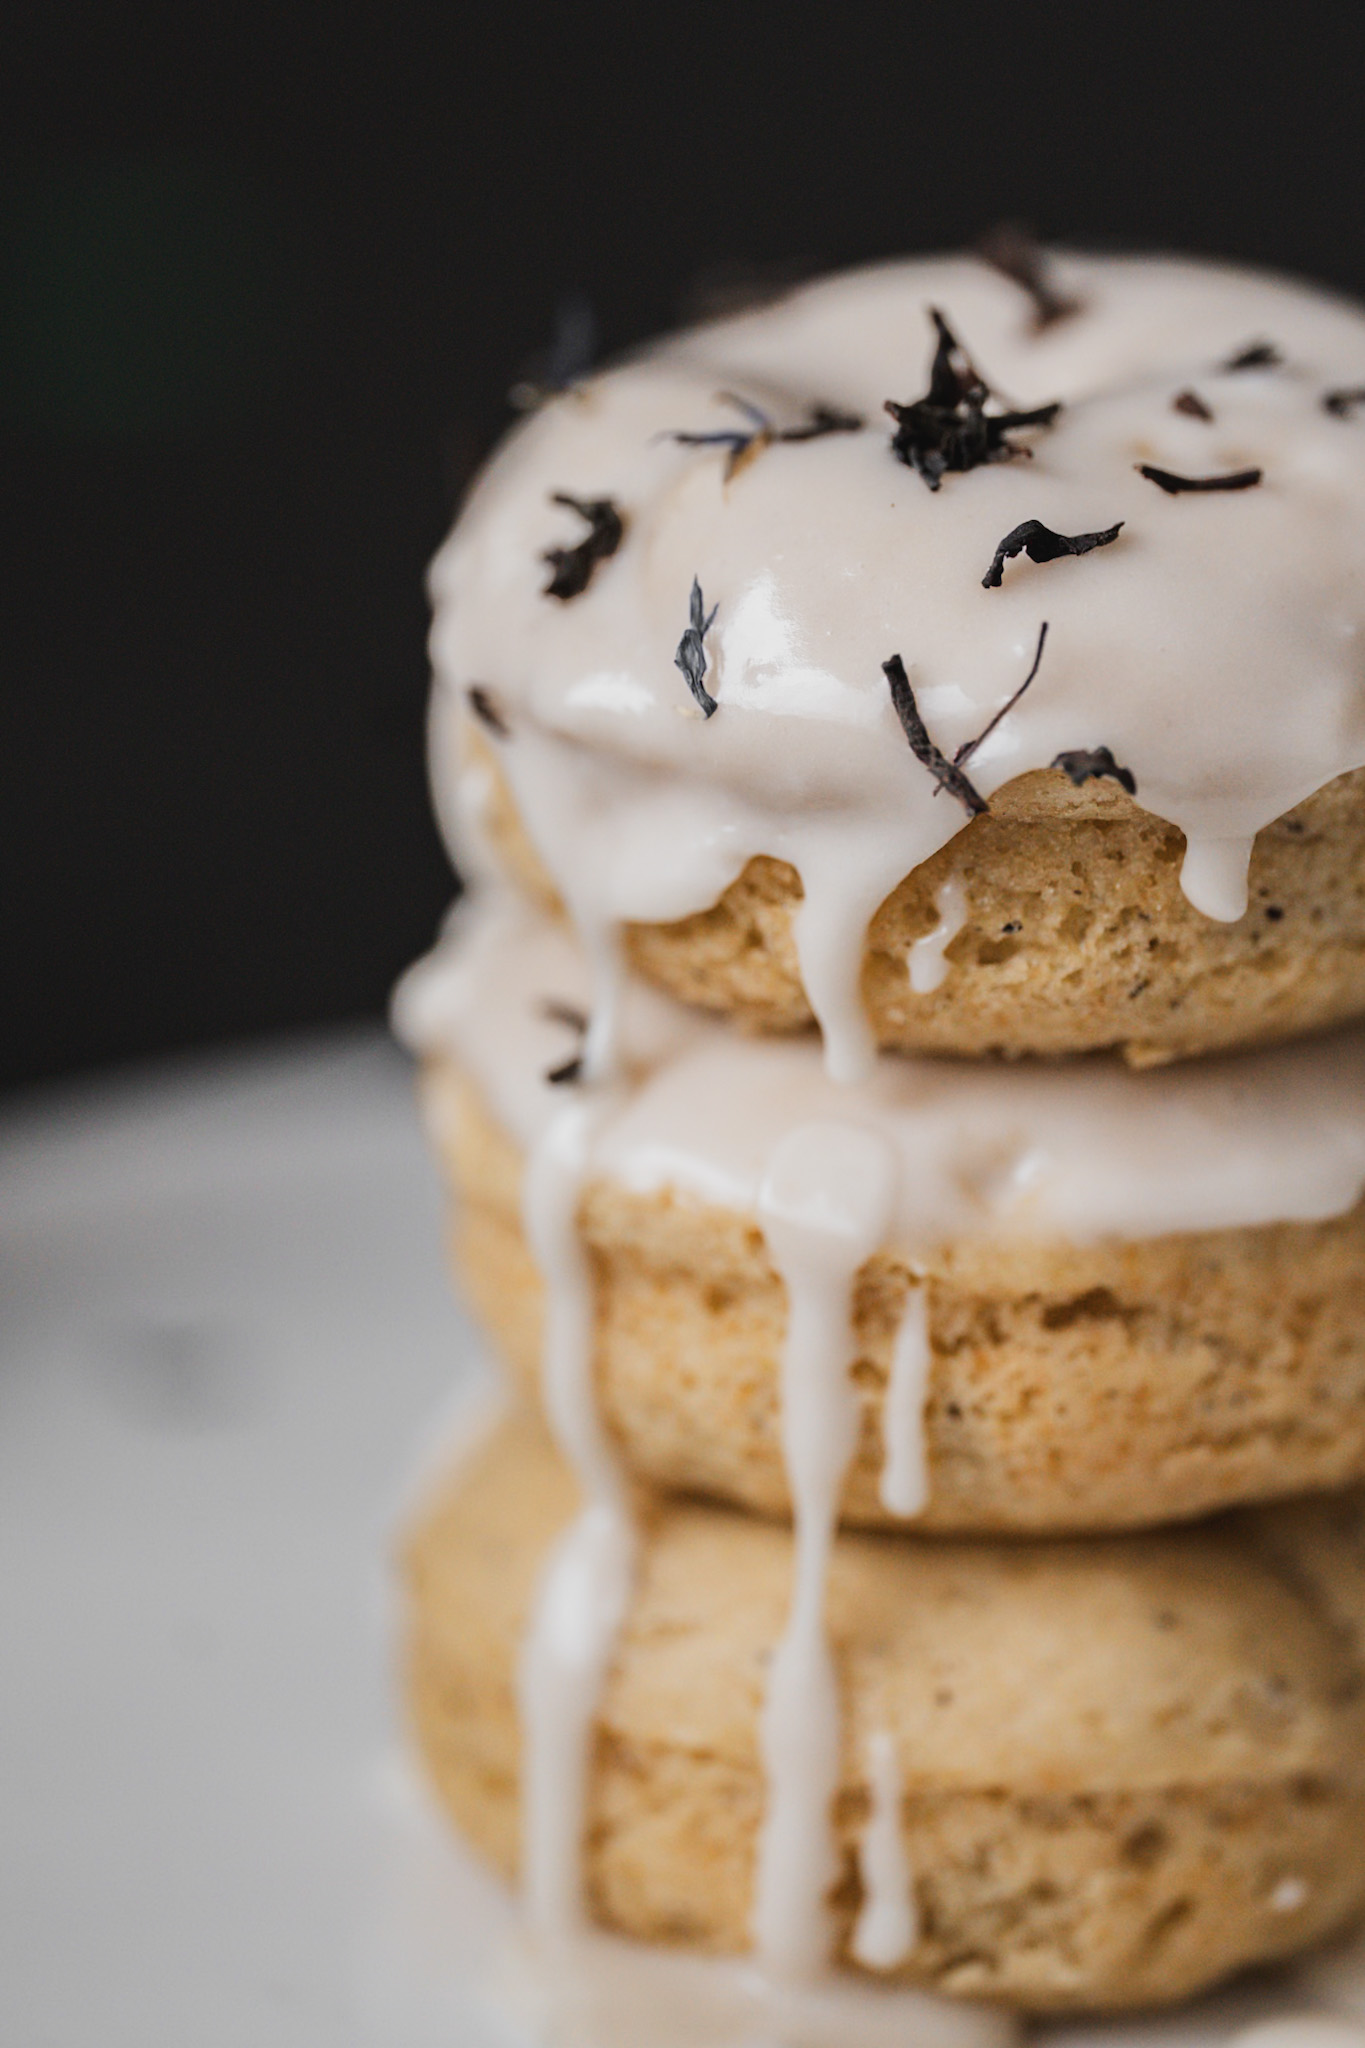
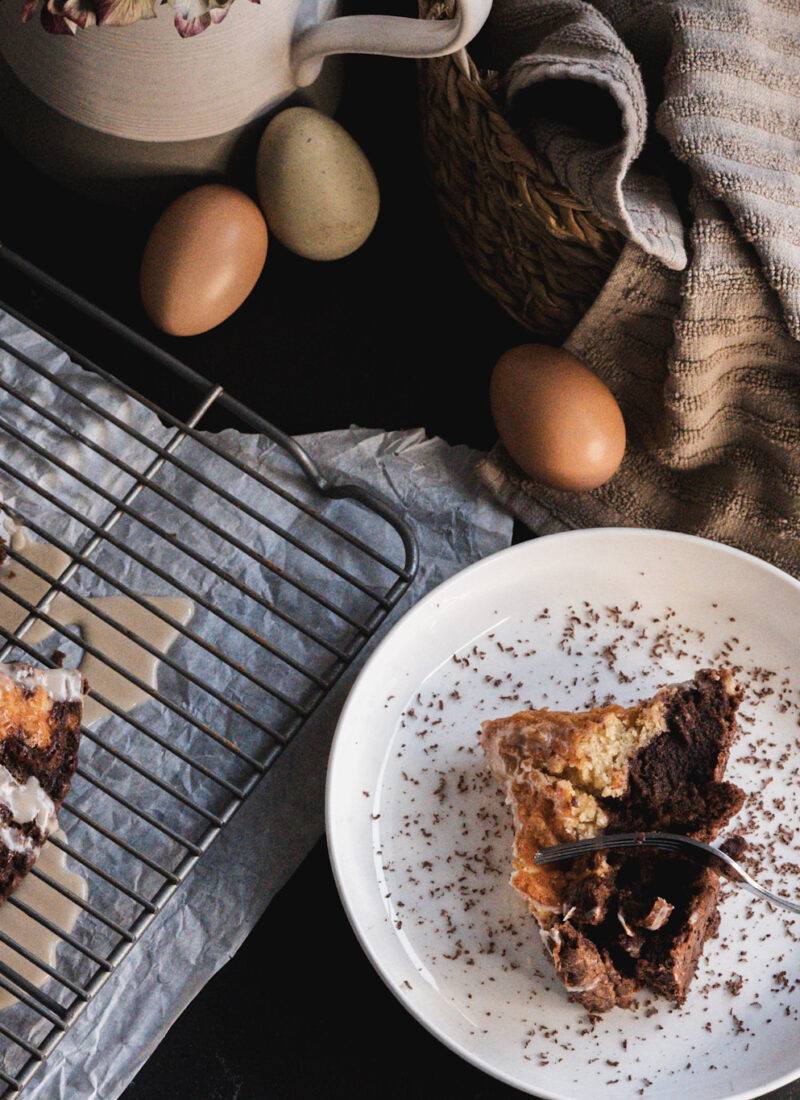
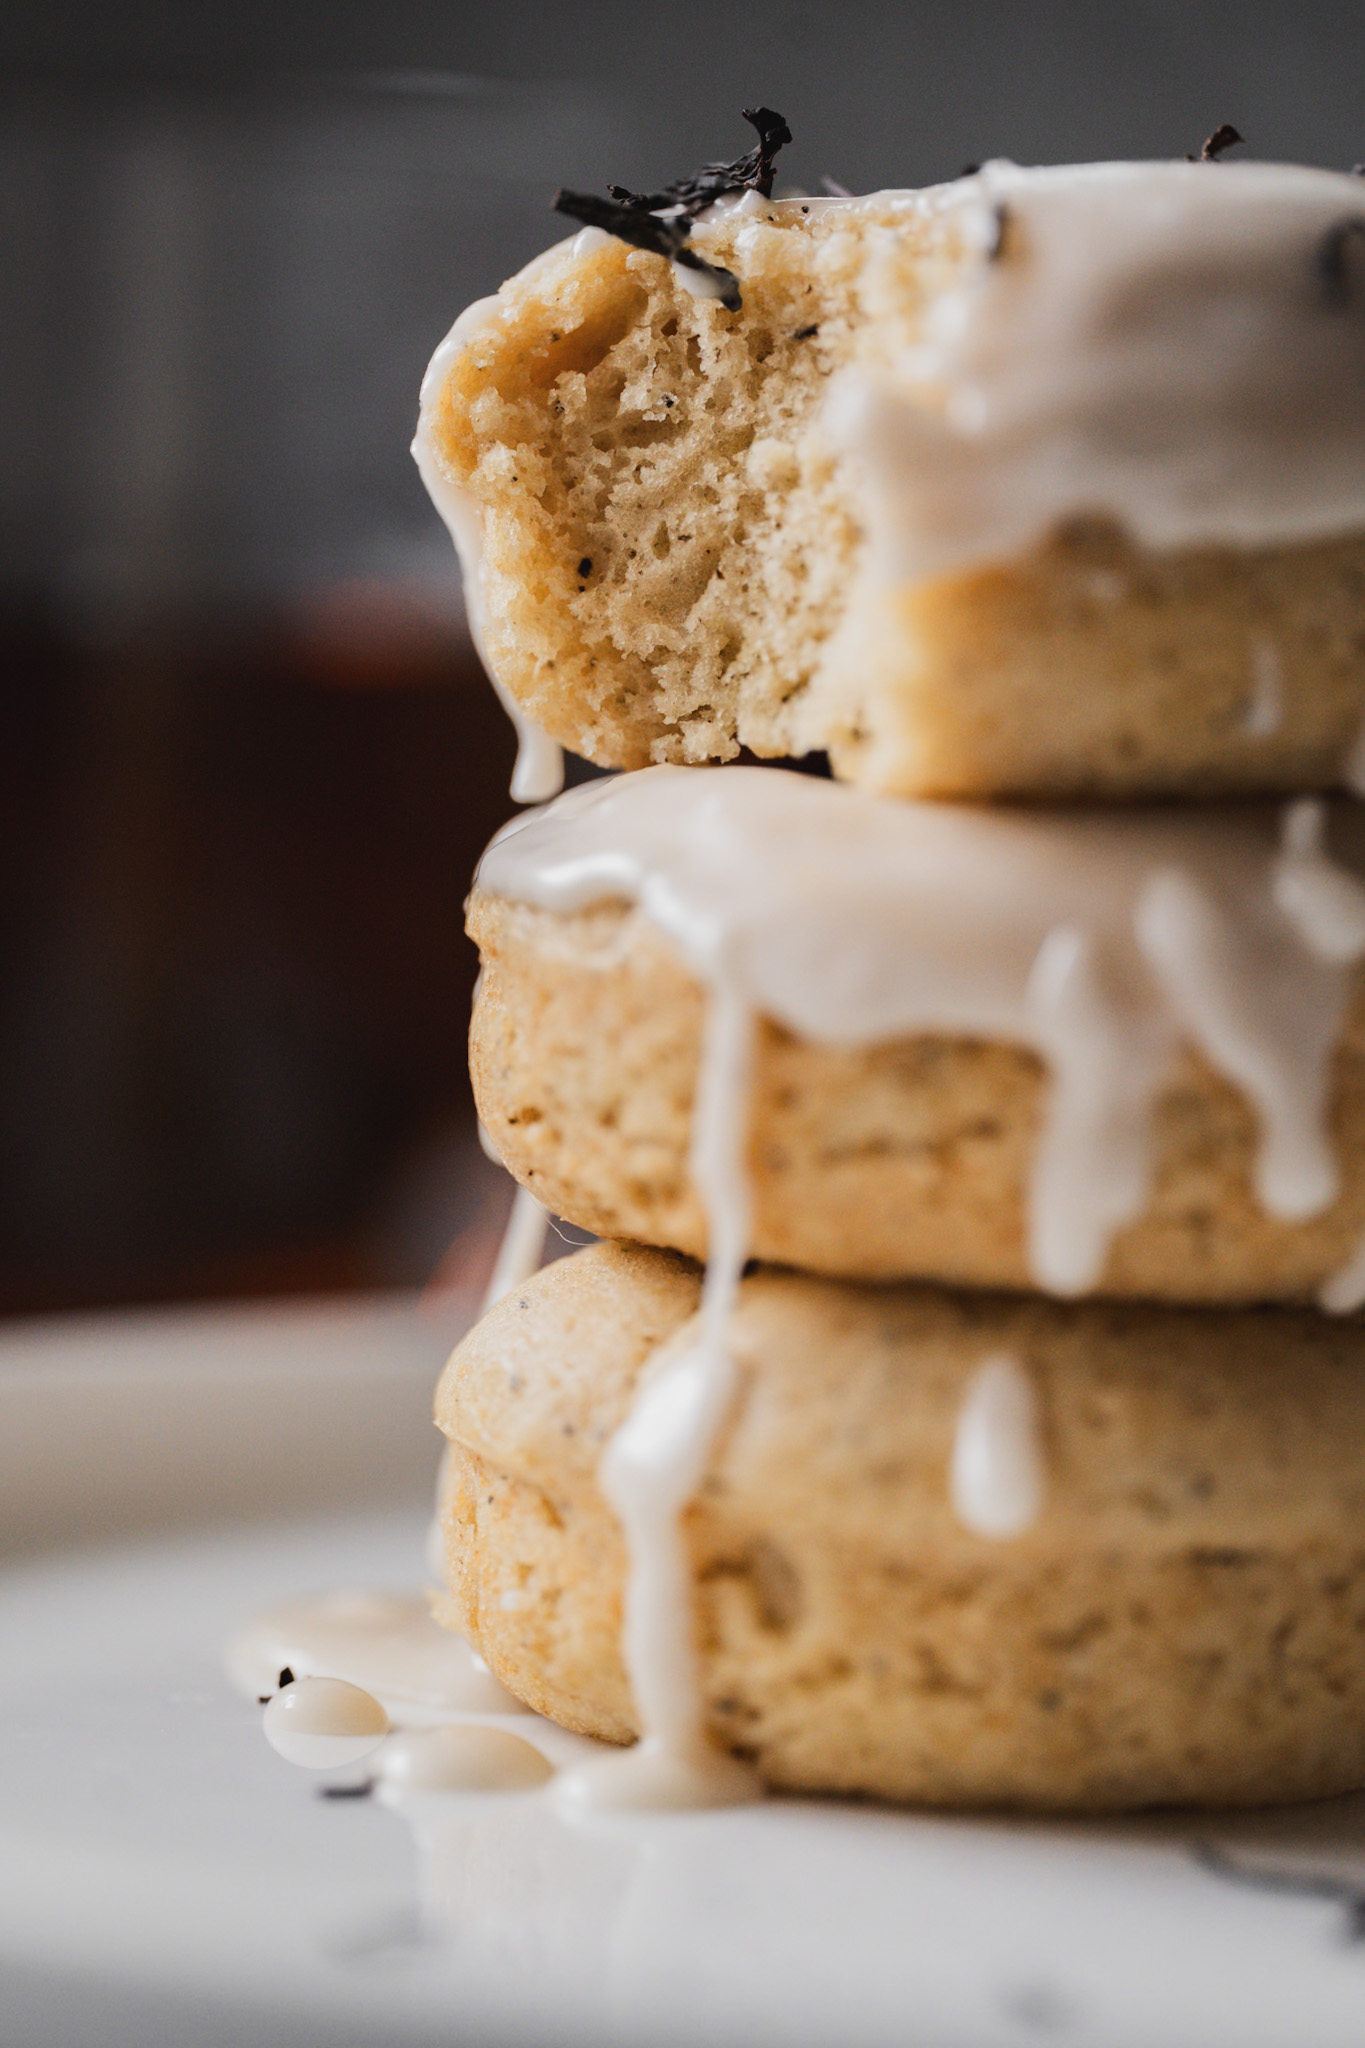
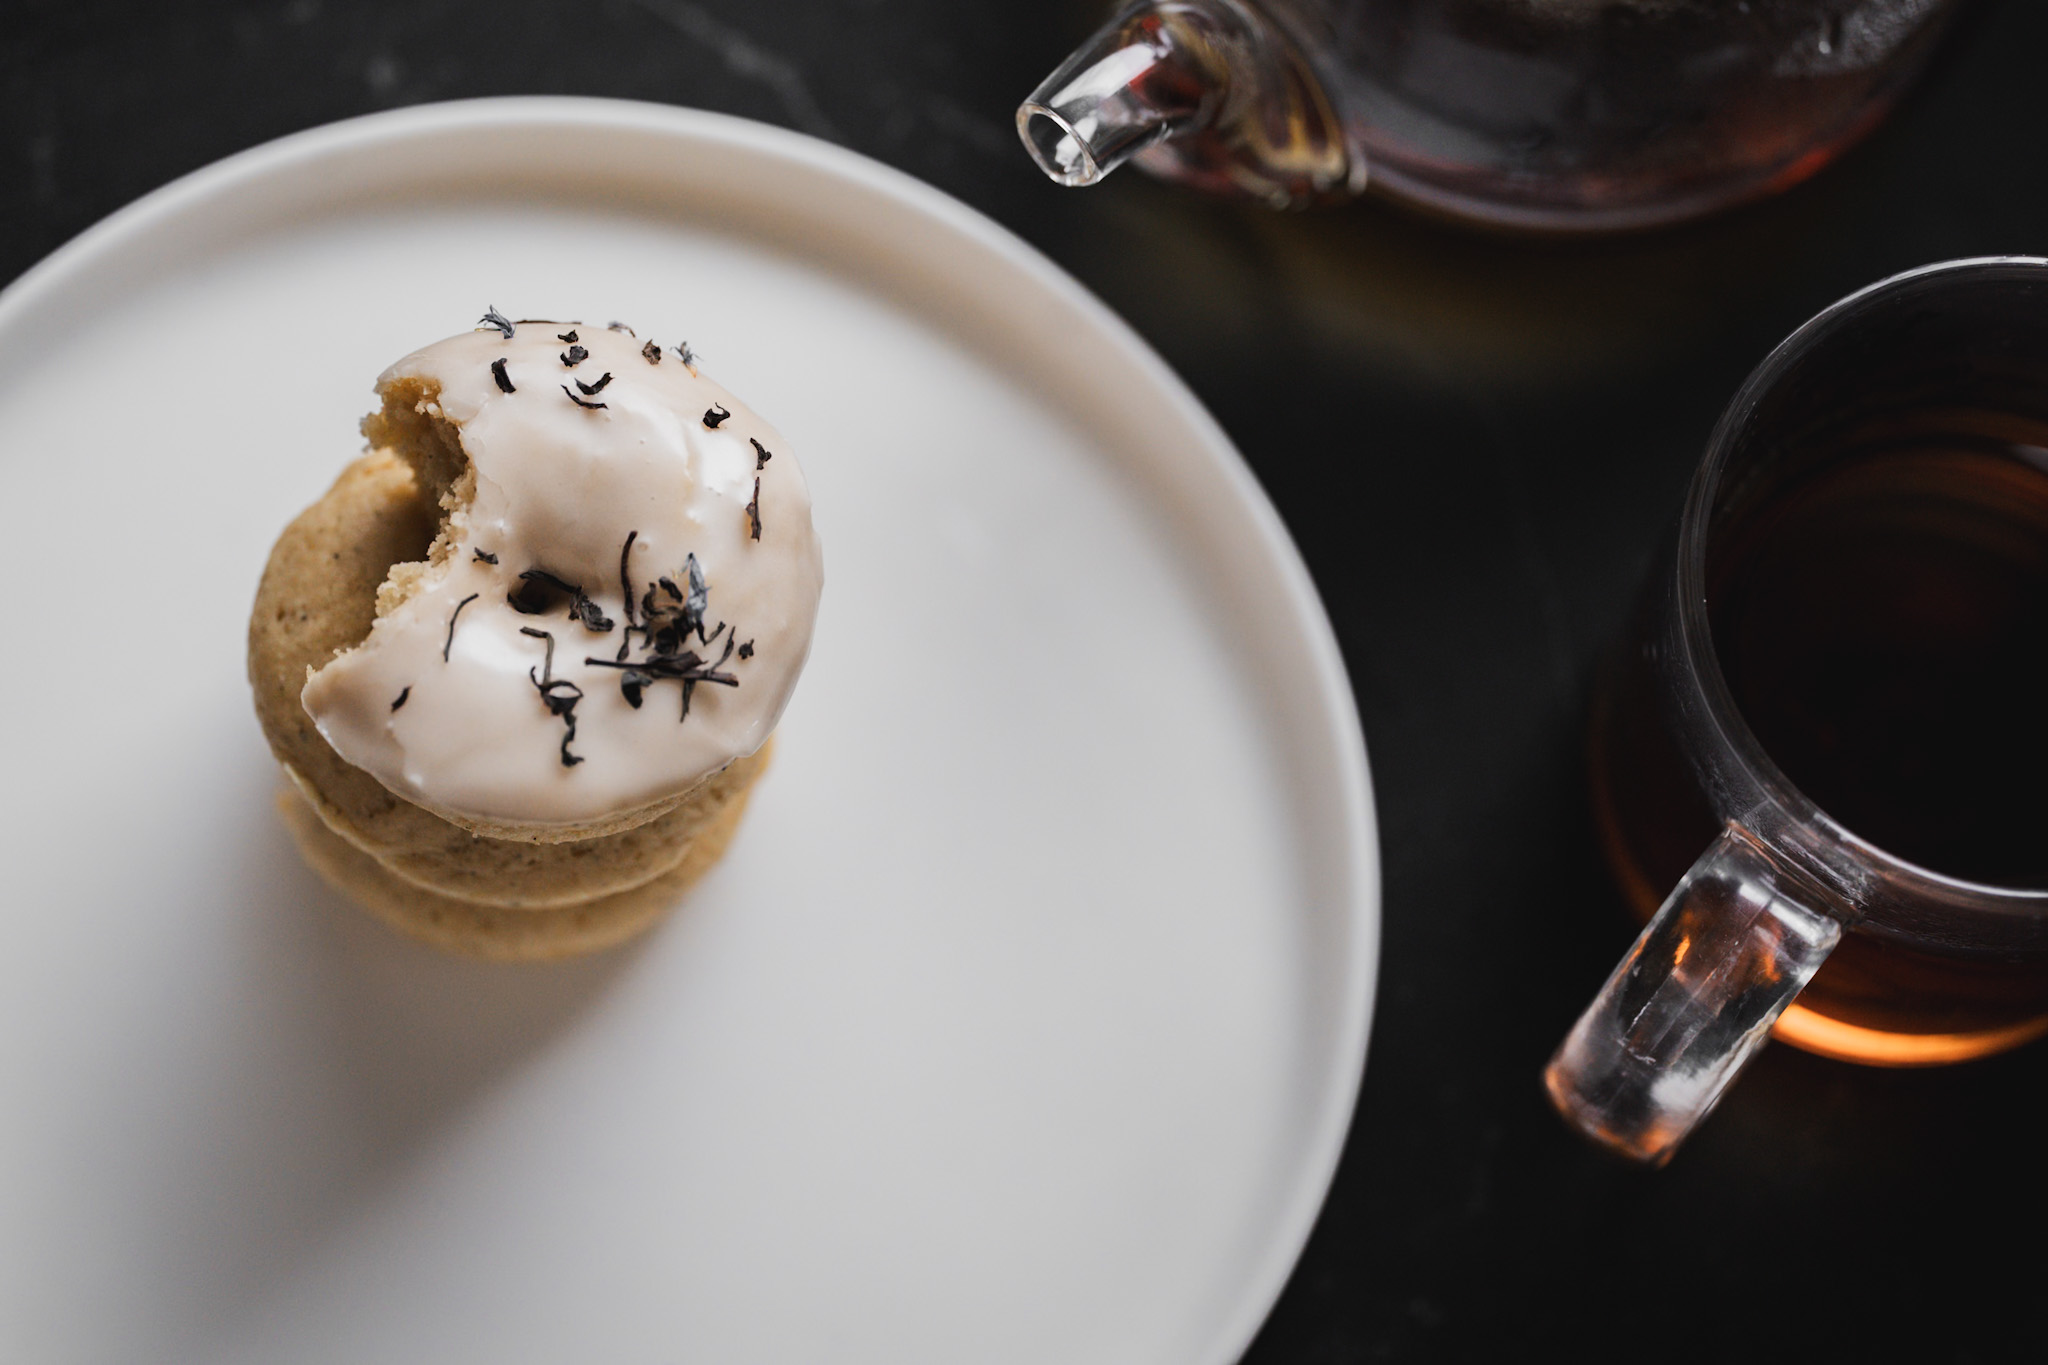
Food Styling is exactly as it sounds. The way I go about styling is telling a story about the recipe and the food outcome. For these Baked Earl Grey Infused Donuts I zeroed in on a few specific elements. The texture of them after being baked (versus fried), the earl grey tea, the drippy glaze and then how it would look to enjoy them. Donuts are often fried so I wanted to highlight the soft fluffy texture on the outside to contrast the usual brown solid exterior. Then these donuts have an extra special element that makes them stand out, earl grey tea. There are finely ground earl grey tea leaves in the dough that I made sure to highlight in a few shots. The drippy glaze is just that, drippy and a bit sticky until it sets. So, I let the glaze do its thing instead of trying to control it. I also took it up a notch to tie the style together by adding some tea leaves on top as if it were a sprinkle. That’s not necessarily how people will eat them but it highlights the unique elements of the donuts while adding texture and contrast in the image. That’s the bonus to being the styler and photographer – I know how certain elements will photograph while picking details for the styling. The last focus on styling for this recipe was capturing the essence of how someone would enjoy the donuts. I love earl grey tea and tea in general so I leaned into the idea of what this could be like at home. Romanticizing the idea of breakfast with a simple yet elevated tea time. I took out a sweet little tea pot, a mug the matched and highlighted the rich color of the tea. I plated the donut, took a bit and played with different combinations of these details.
- The tea I used is one of a kind Earl Grey Cream Tea from Hopsewee Plantation
- The donut pan is a gift from my engagement – here’s one similar on Amazon
- The tea pot is from Marshalls
- The mug was an engagement gift from my sister. (you can’t see it but it says Future Mrs. Finke on it!)
- The plate is from Home Goods.
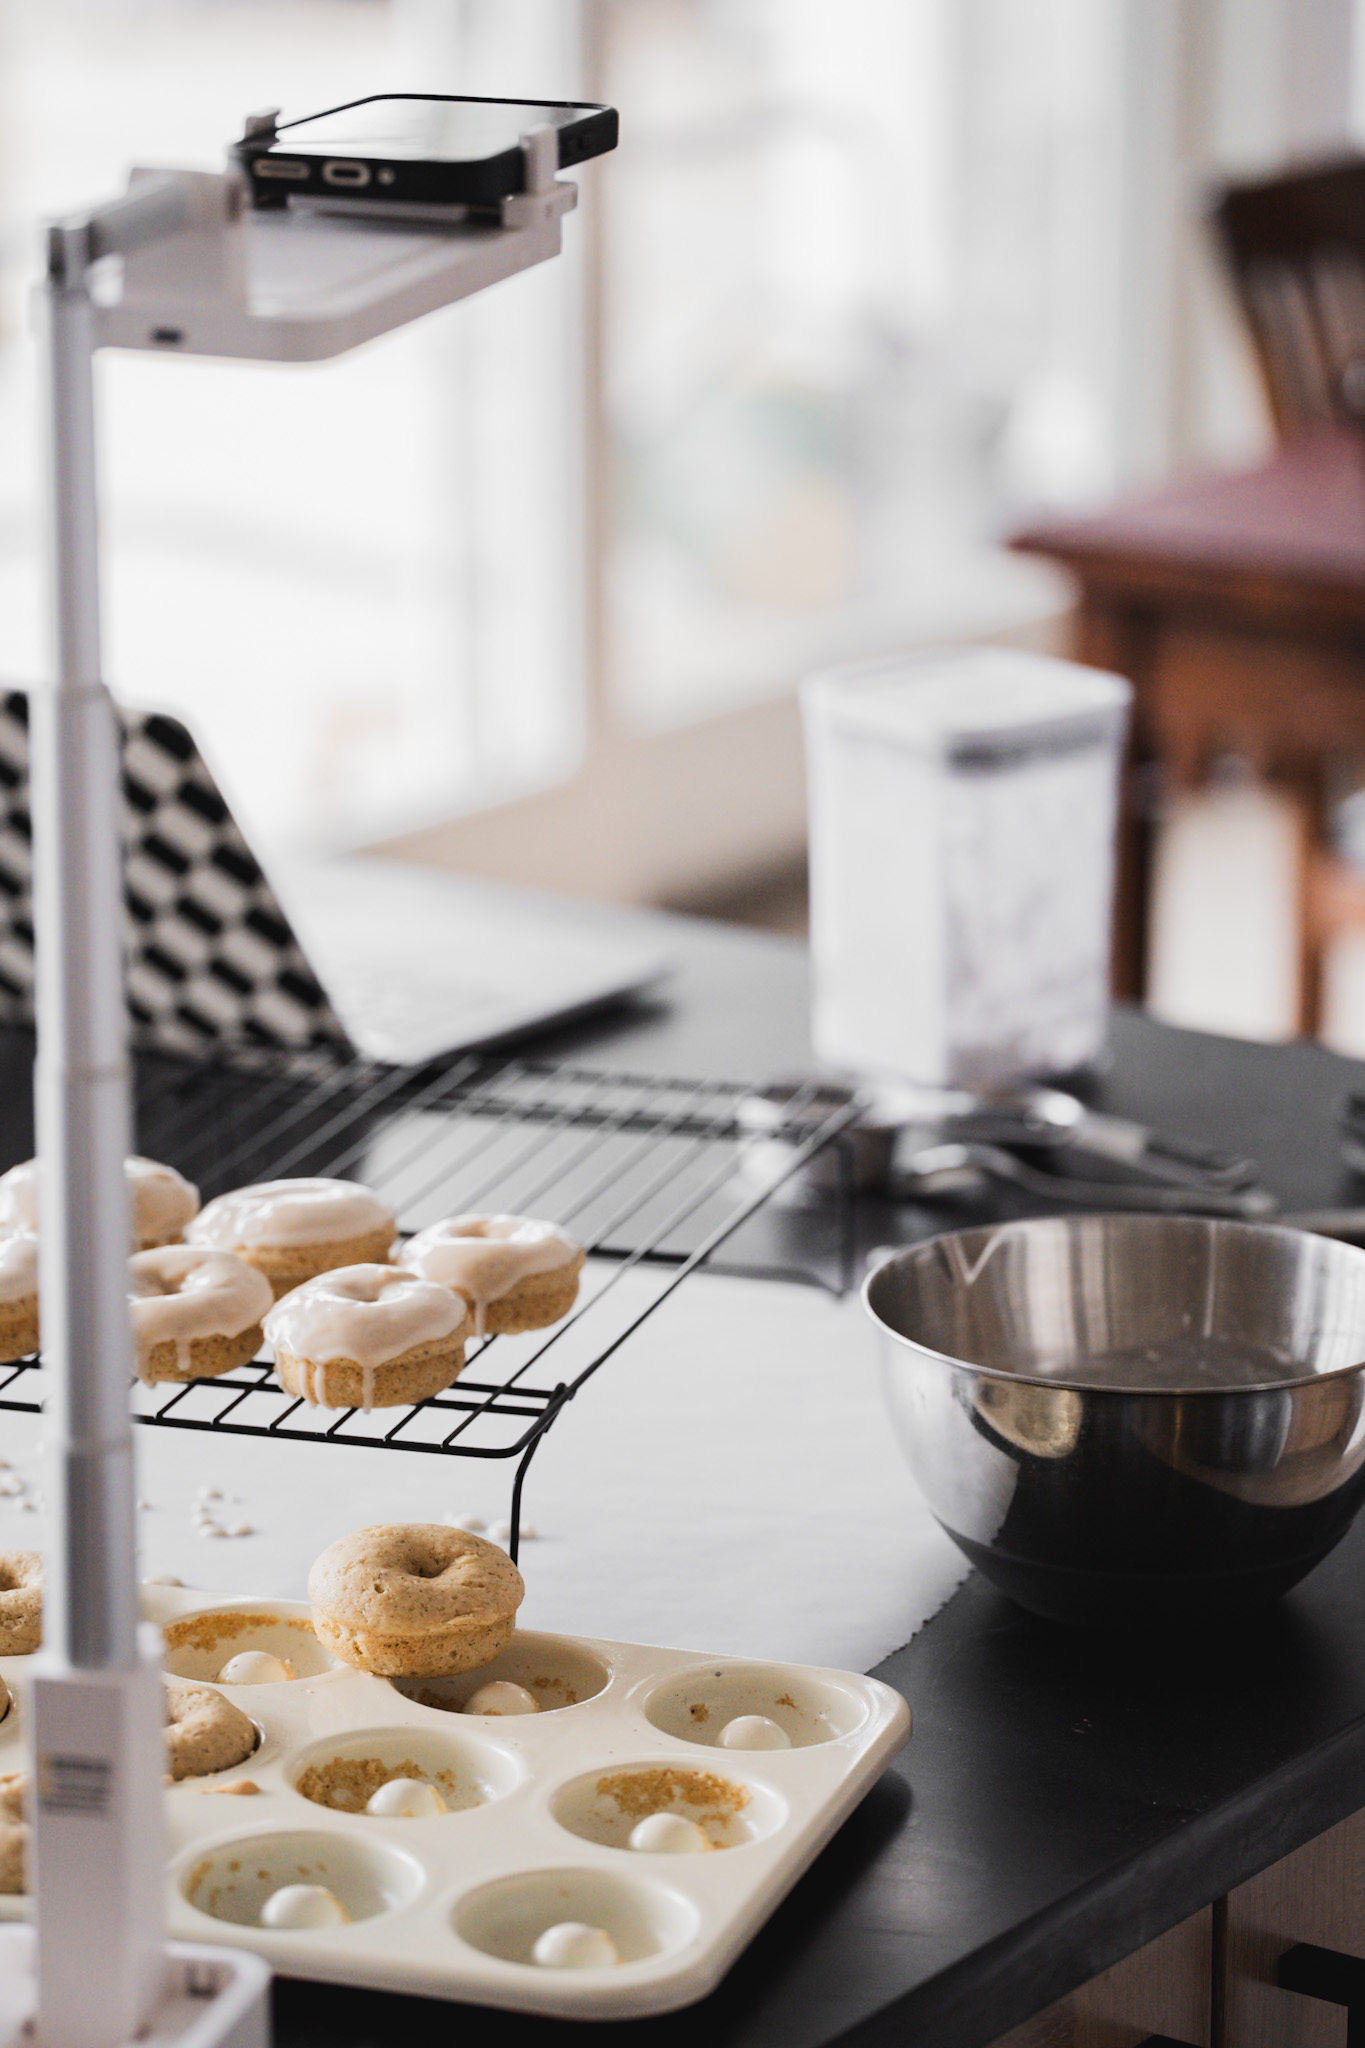
- BTS is courtesy of my Google Pixel 9 Pro and the tripods I use.
- My Sony A7IV and my Sigma Macro Lens
If you want more details about my gear you should checkout the Chronicles of a Photographer Newsletter!
That’s the bonus to being the styler and photographer – I know how certain elements will photograph while picking details for the styling.
Food Photography for Baked Earl Grey Donuts
After I came up with a few ideas on how to style the donuts I brought them to life through the camera. In each style set for the Baked Earl Grey Donuts I tried different lighting scenarios, different angles and camera settings. Being in my own kitchen I moved around in different areas to achieve each look.
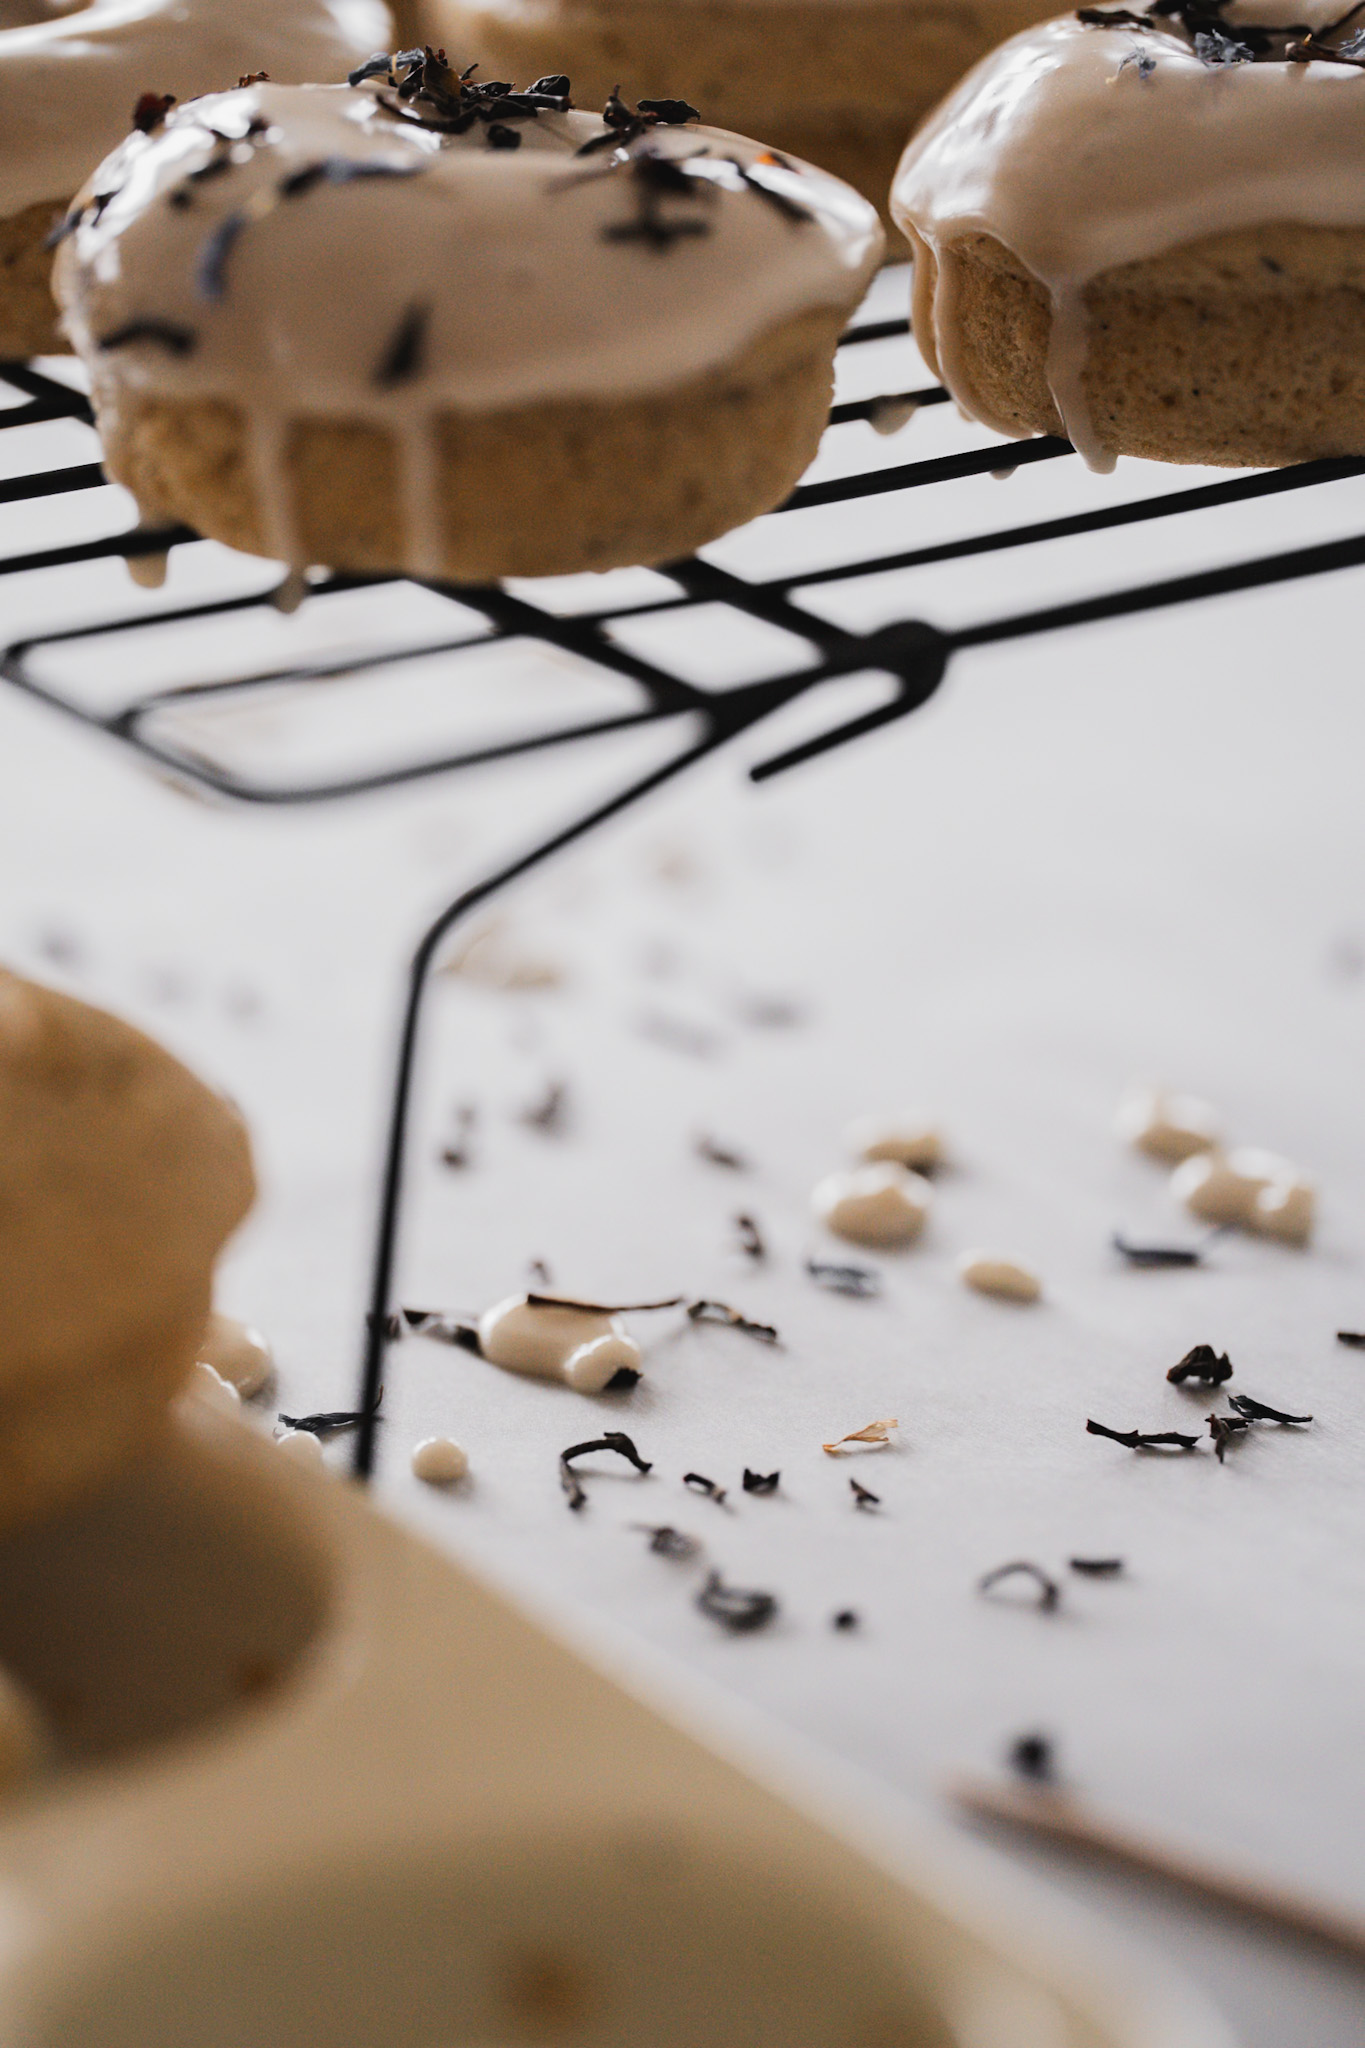
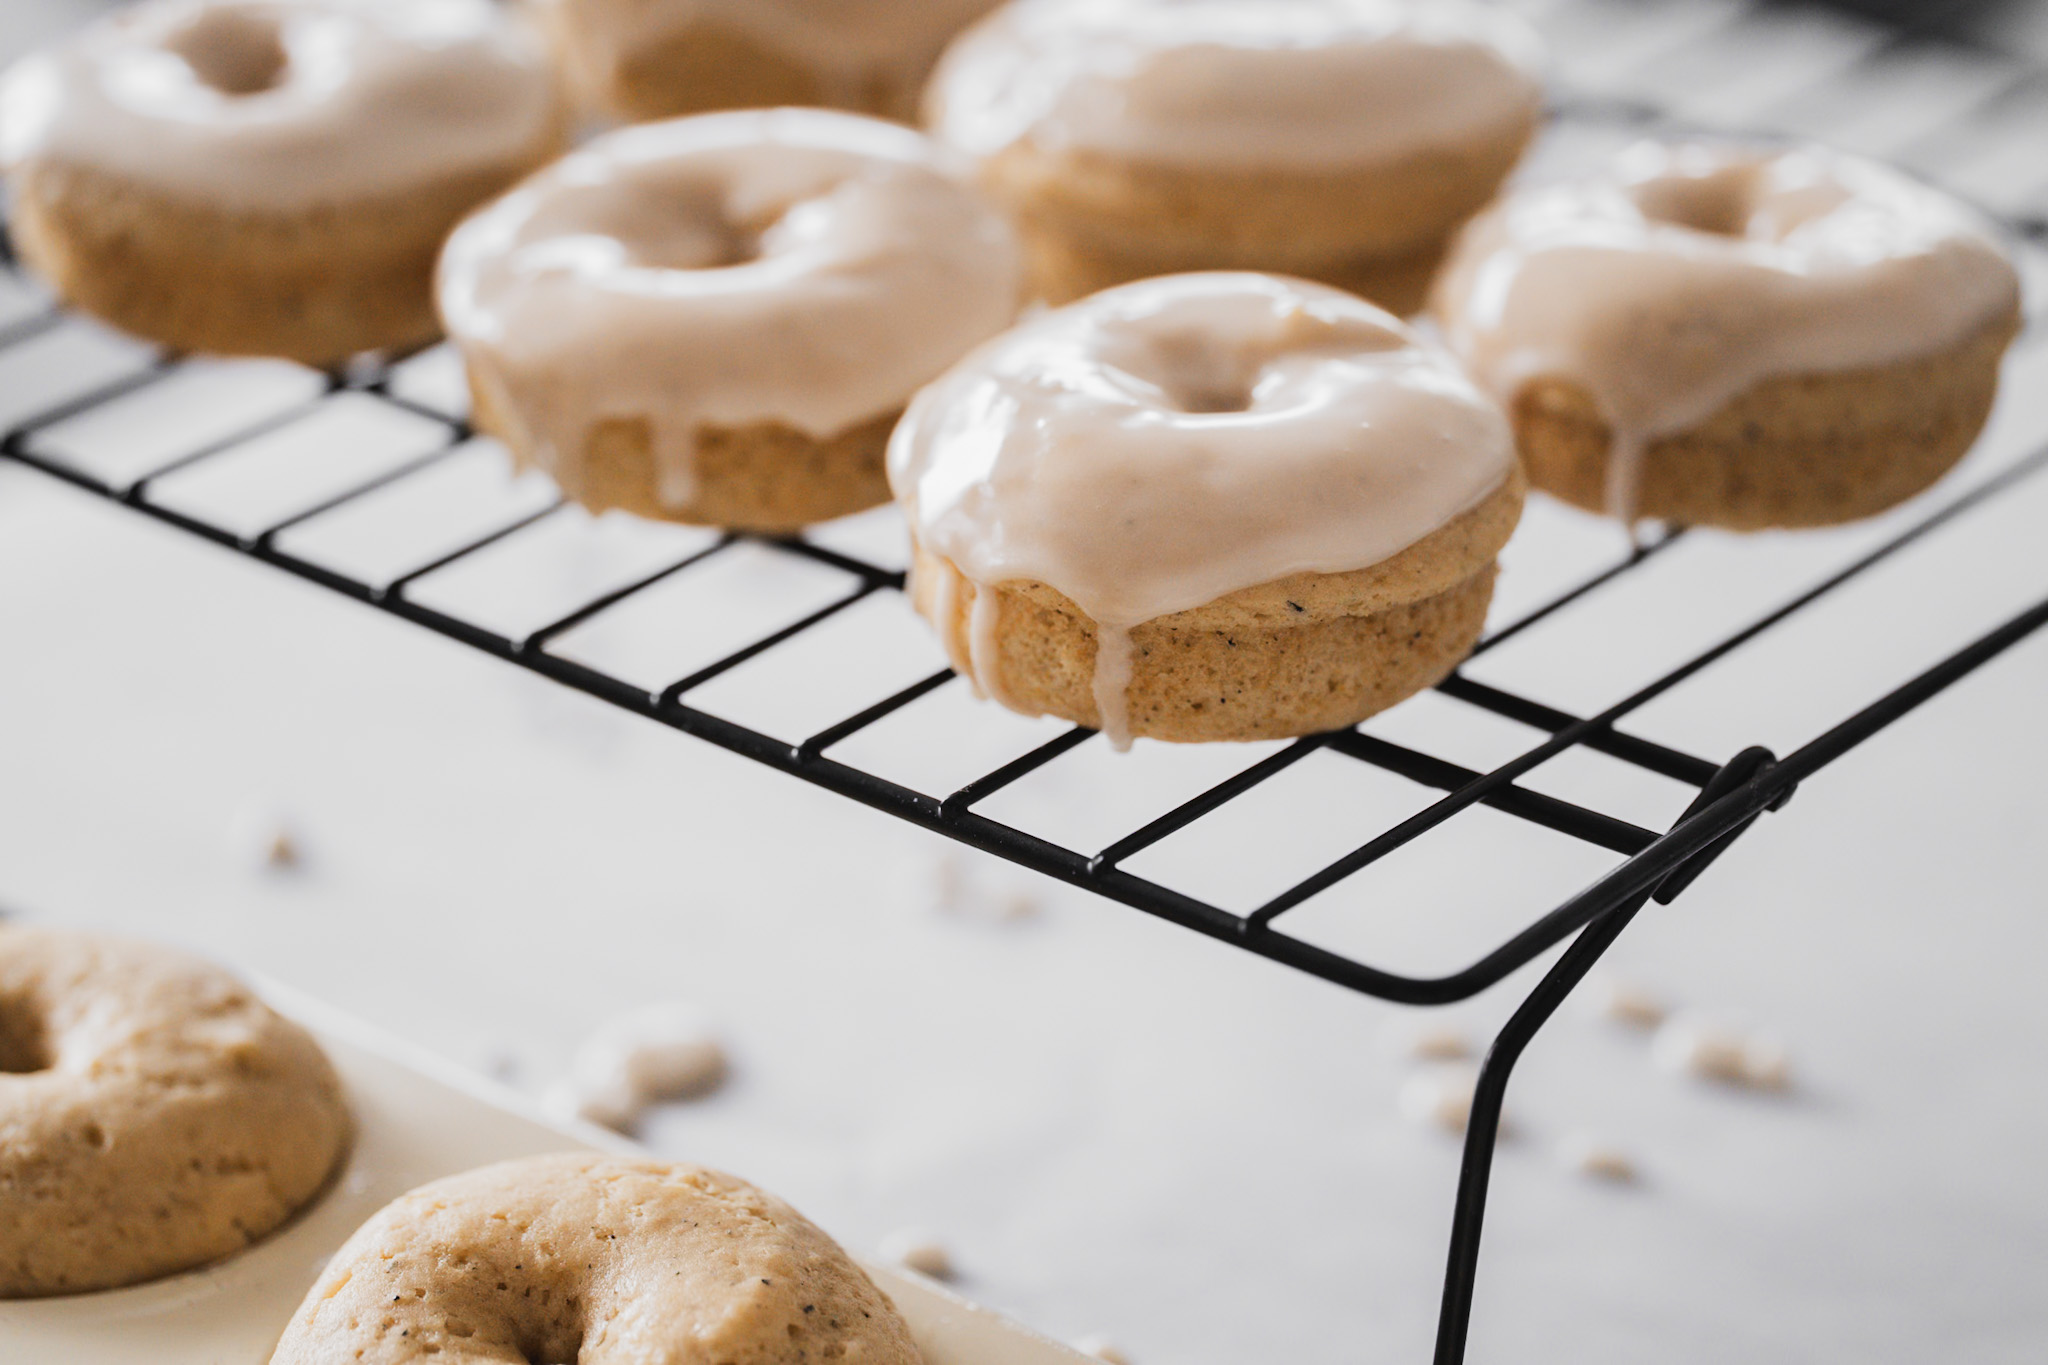
I started by capturing the donuts and the drippy glaze as if the baker (me lol) was going through the motions of putting the recipe together. Then I honed in on different details of this process. For example, I captured the way the icing was dripping down the sides of the donuts, what the drips looked like under the wire rack dropping onto the parchment paper, the leftover tea leaves dropping below the donuts, the earl grey tea leaves on top of the donuts and so on. During each style set I try to tell a mini story of the process and what the recipe is all about. I keep in mind layers to the photos that are foreground or background. They aren’t always in focus but they help tell the story of what’s happening around the subject. For this one I had naked donuts in the background and the donut pan. Then I like to shoot wide, and then narrow in on details. I only used my macro lens that has a set F stop (aperture) so the foreground and background have a nice bokeh effect. (blurry but visible) Then I moved into capturing the scene of how it would look and feel to enjoy them at home! I was working with natural light so I had to be aware of what time it was, where the sun is and what type of shadowy effect I wanted. To be honest, this is more of a trial and error than anything. It’s not like I set a timer for the perfect shadows in the window. You have to be flexible and adapt to what the light is offering. I try to work in the kitchen in the late morning into mid/late afternoon. We get FULL sun on the back of our house, so at noon it is really bright, no artificial light needed. I try to get in the kitchen during those peak sun hours and work with the lighting at each stage of the styling. This is what some people see as the downside to natural lighting. Once it moves you have to pivot and once it’s gone, it’s gone. Personally, it’s my favorite type of photography lighting. Especially for telling a story in food photography. If I have the opportunity to shoot with natural lighting, that’s my first choice!
That’s how this tasty treat inside Ashley’s Pinterest Test Kitchen came to be from recipe concept to food photography and styling. To learn more about me and my inspiration, click here.
If you want to checkout that newsletter I mentioned earlier, click here!
Did I mention I’m also on Youtube!? If you’re better with visuals, then click here!
Baked Earl Grey Tea Infused Donuts
Equipment
- Donut Pan https://a.co/d/6Kx3iOC
- Earl Grey Cream Tea from Hopsewee https://hopsewee-plantation.square.site/product/loose-tea-or-tea-bags/9?cs=true&cst=custom
Ingredients
Donut Batter
- 2 cups flour
- 2 tsp baking powder
- 1/4 tsp baking soda
- 1 tsp salt
- 1 tsp Earl Grey Tea Leaves
- 2 eggs
- 1/3 cup sour cream
- 1/2 cup Earl Grey Infused Milk
- 1 tsp vanilla extract
- 2 tbsp neutral oil (avocado oil)
- 2 tbsp melted butter
- 1/3 cup brown sugar
- 1/3 cup white sugar
Infused Milk
- 1 quart whole milk
- 4 tsp Earl Grey Tea leaves
Infused Milk Glaze
- 1 cups confectioners sugar
- 8 tbsp infused milk
Instructions
Infused Milk
- The night before you want to make your donuts add the tea leaves to your milk jug and let it sit in the fridge overnight. If you don't have a quart of milk use 1 tsp of tea leaves to every one cup of milk.
Donut Batter
- Preheat your oven to 375°. Take a very soft bit of butter and grease up the donut pan. (you can also use oil)
- Crush your tea leaves into a fine texture or powder. A muddler would work great. (I used the back of my whisk in a bowl.) Combine all of your dry ingredients. Flour, baking soda, baking powder, salt and tea leaves.
- In a separate bowl combine both sugars and butter until well combined. Add in the eggs, sour cream, vanilla, infused milk and oil.
- Put the wet ingredients into the bowl with dry ingredients and fold in. The batter will be thick and a bit sticky, thats okay.
- Add the batter into a ziplock bag squeezing it down to the tip of the bag. Put the tip of the bag to the inside of the donut indent of the pan. Cut off the tip to be slightly smaller than the pan allows for. Hold the top of the ziplock bag up and squeeze down on the batter with the other hand. Move the batter into the shape of the donut as you squeeze. Filling the donut ring about half way to the top. Add more for a full top donut.
- Put donuts into the oven and bake for about 10 minutes or until they feel spongey. You can also use a toothpick in the middle of the dough. If it pulls out clean they are done.
- While the donuts are baking mix together confectioners sugar and milk. You can change the ratio of milk to sugar depending on what type of icing texture you want. More milk = runny sticky glaze. Less milk = thicker glaze.
- Wait for donuts to cool a few minutes then dip them into your glaze. Transfer them to a wire rack to cool completely. Enjoy for tea time!


